6 min to read
Automate Painting using Python
Draw images using Python automation

Like a lot of people, I am not so good at drawing sketches, that was my motivation to create this software so that I can sketch the basic version of any image of my choice in any software that I want.
This software is capable of loading any type of image and then we can dynamically process it for the level of details we want. Currently, the image processing is at a very basic level but I intend to upgrade it in the future.
Check out the link below for the tutorial:
You can find the complete source code here : AutoPaint Github Link
Part 1: Create GUI
To create UI I have used Qt Designer and integrated it with Python using PyQT.
The reason for choosing this method was to enable this software to run on any platform since it is cross-platform.
Check out the youtube videos for more details on it and for learning more ways to create it checkout this link.
Part 2: Image Processing
For Image processing, I have used OpenCV.
For installation:
pip install python-opencv
Implementation
# Import Lib
import cv2
Load Image
The UI will call the function to load a specific image. We will make a copy of the image and do pre-processing and edge detection over it.
def loadImage(self,img):
	self.img = img.copy() # Create Copy
	(self.h,self.w) = self.img.shape[:2] # Get Dimensions

	self.image_pre_process()
	self.edge_detection()
Pre-processing
Right now I have done simple pre-processing i.e convert from color to black and white and blur it slightly to remove noise.
def image_pre_process(self):
	self.img_gray = cv2.cvtColor(self.img, cv2.COLOR_BGR2GRAY)
	self.img_blur = cv2.GaussianBlur(self.img_gray, (3,3), 0)
Edge detection
Since right now it will be very difficult to recreate the complete image, I am just drawing the boundaries. For figuring out the edges I have used the canny filter
def edge_detection(self):
	self.edges = cv2.Canny(image=self.img_blur, threshold1=30, threshold2=50)
Part 3: Draw using PyAutoGUI

First, we need to get used to working with PyAutoGUI
PyAutoGUI
PyAutoGUI lets your Python scripts control the mouse and keyboard to automate interactions with other applications. The API is designed to be simple. PyAutoGUI works on Windows, macOS, and Linux, and runs on Python 2 and 3.
To install it:
pip install pyautogui
Simple Example code to get the screen resolution and current mouse location:
import pyautogui

screenWidth, screenHeight = pyautogui.size()
print(screenWidth, screenHeight)

currentMouseX, currentMouseY = pyautogui.position()

print(currentMouseX, currentMouseY)
To move the mouse to a certain location:
pyautogui.moveTo(50, 400)
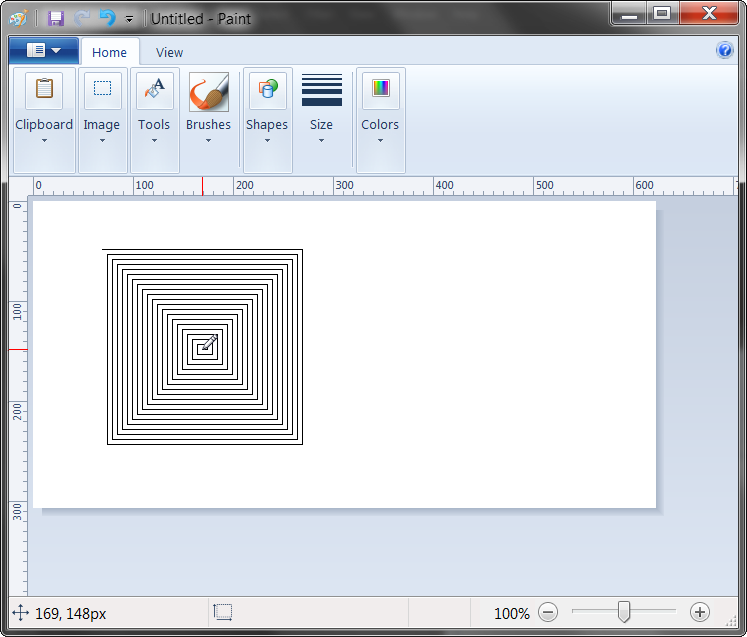
Example code to draw a pattern:
distance = 200
while distance > 0:
    pyautogui.drag(distance, 0, duration=0.5)   # move right
    distance -= 5
    pyautogui.drag(0, distance, duration=0.5)   # move down
    pyautogui.drag(-distance, 0, duration=0.5)  # move left
    distance -= 5
    pyautogui.drag(0, -distance, duration=0.5)  # move up
Implementation
First, we need to specify the area in which we will draw.
We can do this by moving our mouse to that location and then finding out the coordinates.
For example in my system:
Screen Resolution: 1920,1080

## Inside Paint application
Up-Left Corner: 6,179
Up-Right Corner: 1081,179
Down-Left Corner: 11,854
Down-Right Corner: 1078,851
These were rough estimates therefore I have rounded them and also taken the factor of error.
Following are the ratios I have used so that even if the screen resolution is changed the code should work:
canvas_start_ratio_x = 10.0/1920
canvas_start_ratio_y = 180.0/1080

canvas_size_ratio_x = 1070.0/1920
canvas_size_ratio_y = 670.0/1080


canvas_start_x = screenWidth*canvas_start_ratio_x
canvas_start_y = screenHeight*canvas_start_ratio_y

canvas_end_x = canvas_start_x + canvas_size_ratio_x*screenWidth
canvas_end_y = canvas_start_y + canvas_size_ratio_y*screenHeight

print(canvas_start_x,canvas_start_y)
print(canvas_end_x,canvas_end_y)
Main code for drawing:
def startPainting(self):
	print("Starting Painting")

	pyautogui.moveTo(self.canvas_start_x, self.canvas_start_y)

	rows,cols = self.edges.shape
	for i in range(rows):
		for j in range(cols):
			if(self.edges[i,j]):
				pyautogui.click(self.canvas_start_x+j, self.canvas_start_y+i)
We are going through all the edge points and wherever we find a pixel we are clicking on the screen at the respective coordinate.


Comments